At the Egyptian Cup Regatta we learned that our mast was improperly set up. First, our rig was very loose. Second, the rake was way too far aft. What did that mean? We would not be competitive upwind, and enough slop in the rig caused us to prematurely lose wind attachment on the sails. So, off we went in search of the proper rig.
There is a lot of information out there on rig. But the general consensus is first, make it tight, and second, make it raked properly. In this post I’m going to go into lots of detail about what we are doing for our rig (as a starting point) to improve it. It’s going to get boring. But I include all the details so to help others going through this.
I read the North Sails tuning guide, the Mad Sails tuning guide (written by David Ames), David Neff’s explanation the jib toggle on Facebook, watched the Flying Scot, Inc. video on how they set the rake at the factory, and exchanged numerous emails with Chris Tesdal from Clinton (who has rigged several Flying Scots). From this, I have deduced a few things:
- North Sails explicitly eliminates use of the jib tack/forestay toggle. IMHO a bad mistake. That said, all the leaders are doing exactly this (ignoring the toggle).
- Mad Sails does not discuss how to measure rake. They assume the average sailor knows. There are lots of challenges with measuring rake (I’ll explain later), and that can change basically everything.
- David Neff gave the best explanation about using the jib tack/forestay toggle I’ve ever seen, although his explanation is a bit difficult to follow.
- Carrie at Flying Scot, Inc., gave a great (exceptional, actually) video on how they set their rig to the “snug” rig coming out of the factory. This setup, however, is not consistent with the leaders of the Class.
- Chris gave some outstanding pointers that allowed me to understand David’s explanation better, and provide great starting points. But he did not go into the jib tack/forestay toggle use, stating that the design is 60+ years old, and the sails are much newer.
Should you decide to follow us on this, be sure to purchase a Loos Gauge. Make sure you get the Imperial Units one, not the metric one. (I inadvertently bought the metric Loose Gauge, and have to convert everything to imperial units.). Amazon carries it (and I don’t get any money for this endorsement!).
Mast rake is historically measured from the top of the main halyard to the stern. Easy to say, but difficult to do. Alternatively, you can lock the jib halyard at the point where it just brushes the raised portion of the deck directly in front of the mast, extend it forward to the forestay, and measure the distance between where it hits the forestay and the hole in the bow plate where the jib tack goes through the deck. In the ideal world, if your mast rake measured aft hits the target, then your mast rake measured forward should also hit the target.
We attended a seminar by David Ames at the Decatur Regatta and finally got some questions answered. Here’s what we learned:
- Level your boat side-to-side and fore/aft on the trailer.
- Attach a 50-100′ tape measure to your main halyard, accounting for any loop on the end of the tape. Raise the halyard until the shackle hits the sheive sleeve oriented perpendicular to the sleeve. This is NOT straightforward, and the shackle wants to twist 90 degrees and slip into the sleeve. It MUST be perpendicular, and the halyard MUST be tight.
- Now, set your shroud length such that your aft mast rake is 28′ 6″ as measured from the halyard at the top of the mast to the stern raised bump on the aft deck. Pull the tape tight — very tight. This will pull the main halyard shackle down over the sheive and align with the tape. (Use the spinnaker halyard on the spinnaker sheet hook as a temporary shroud on the side you’re adjusting the shroud on to keep the mast vertical.)
- Use a 5-hole forestay plate available from Flying Scot, Inc., as the connector plate on your forestay. Put the lower connection on the 3-hole end on the bottom hole. (Use your jib halyard as a temporary forestay, connected either to the bow plate loop or to the trailer winch; using the trailer winch allows you to do all work from the ground without having to jump back into the boat to tighten/loosen your jib halyard.)
- Once the forestay is connected, adjust the turnbuckle under the foredeck until you have 110 lbs of force on the forestay as measured by the Loose gauge. In our case the total forestay length was too long, and we needed to adjust the forestay such that the bottom hole of the 2-hole side was used on the top part of the forestay, and the middle hole was used on the lower part of the forestay.
- Once you have 110 lbs of force (+/-10 lbs)on the forestay, re-measure the aft rake and measure the forward rake as well. The aft rake should measure 28’6” and the forward rake 16”.
- Finally, measure your side-to-side rake taking the tape measure still attached at the top of the mast and measuring to the deck at the chain plate. Both sides should be within 1/8” for a straight mast.
Now for our measurements:
- Forestay load: 119 lbs
- Aft rake: 28’ 5.75”
- Forward rake: 15 5/8”
- The aft measurement says we’re raked too far aft, and the forward measurement says we’re raked too far forward. So, we’ll keep it! 🙂
- Shroud distance to mast head: 26’ 4.25” on both sides.
In order to achieve this we did have to use the middle hole in the forestay plate bottom and the bottom hole in the forestay plate top. This means that we have to drill one additional hole in the forestay plate in order to keep the forestay tight enough in high winds. Ideally you want to use the bottom holes such that:
- Bottom hole in 2-8 knots of wind;
- Middle hole in 8-15 knots of wind;
- Top hole in 15+ knots of wind.
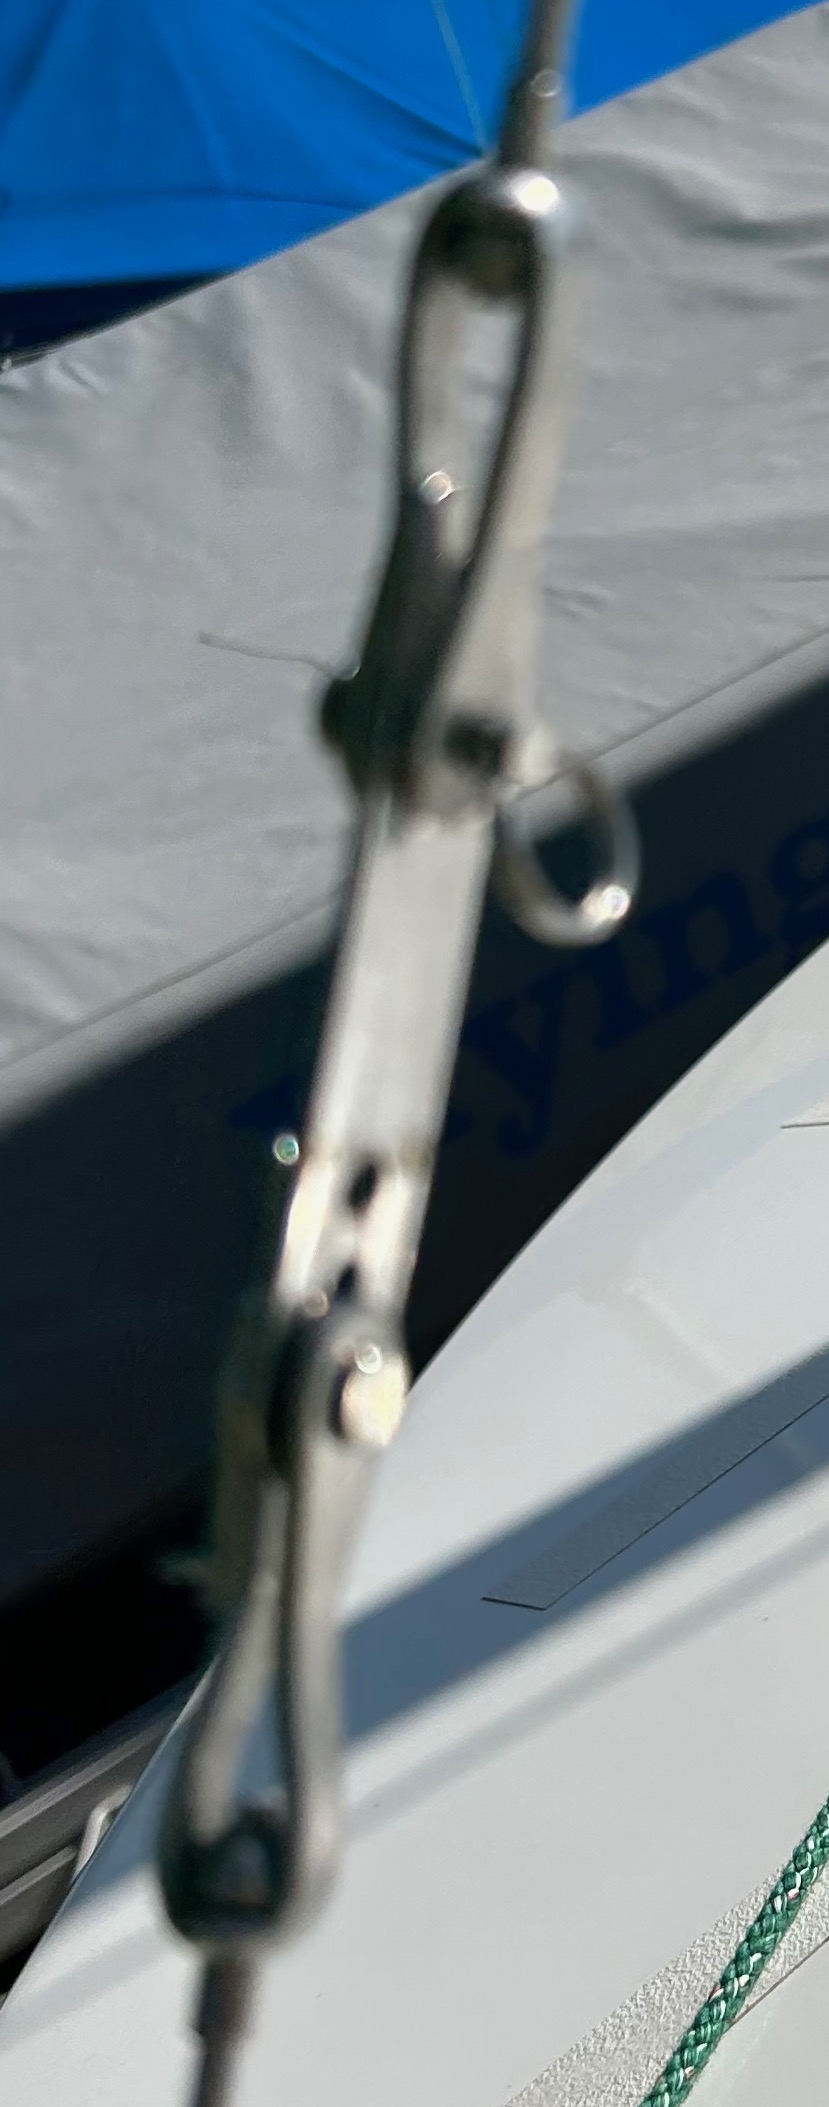
Class rules require that a decision is made on forestay settings prior to leaving the dock; crews are not allowed to change the forestay tension after leaving the dock. We will likely set it in the middle and forget it until we get one additional hole drilled in the plate.Here is a rather blurry picture of the forestay assembly. Apologies for the blurriness, but it does capture how the plate looks when attached. In this image the upper portion of the forestay is attached to the bottom hole of the upper portion of the forestay plate, and the lower portion of the forestay is attached to the bottom hole of the forestay plate. After everything is set, wrap the assembly with rigging tape (or electrical tape) to ensure the clevis pins do not come out. Be sure to wash everything well if sailing in salt water and remove the tape after a day’s sail or things will corrode.
Here’s hoping this helps you with setting up your rig! Questions? Add them to the comments below. We do monitor them and will help out.

Leave a reply to Lake Decatur Centennial Flying Scot Regatta 2023 – Sailing With My Brother Cancel reply